
CRAFTSMANSHIP
The making of artisanal pens is a precise craft. Our artisans transform raw materials—such as ebonite, acrylic, or metals —into functional, bespoke writing instruments through specialized lathing, casting, and polishing.
 Hero Image
1920 × 900 px
 Photo
Photo900 × 700 px
Selecting and Preparing the Material
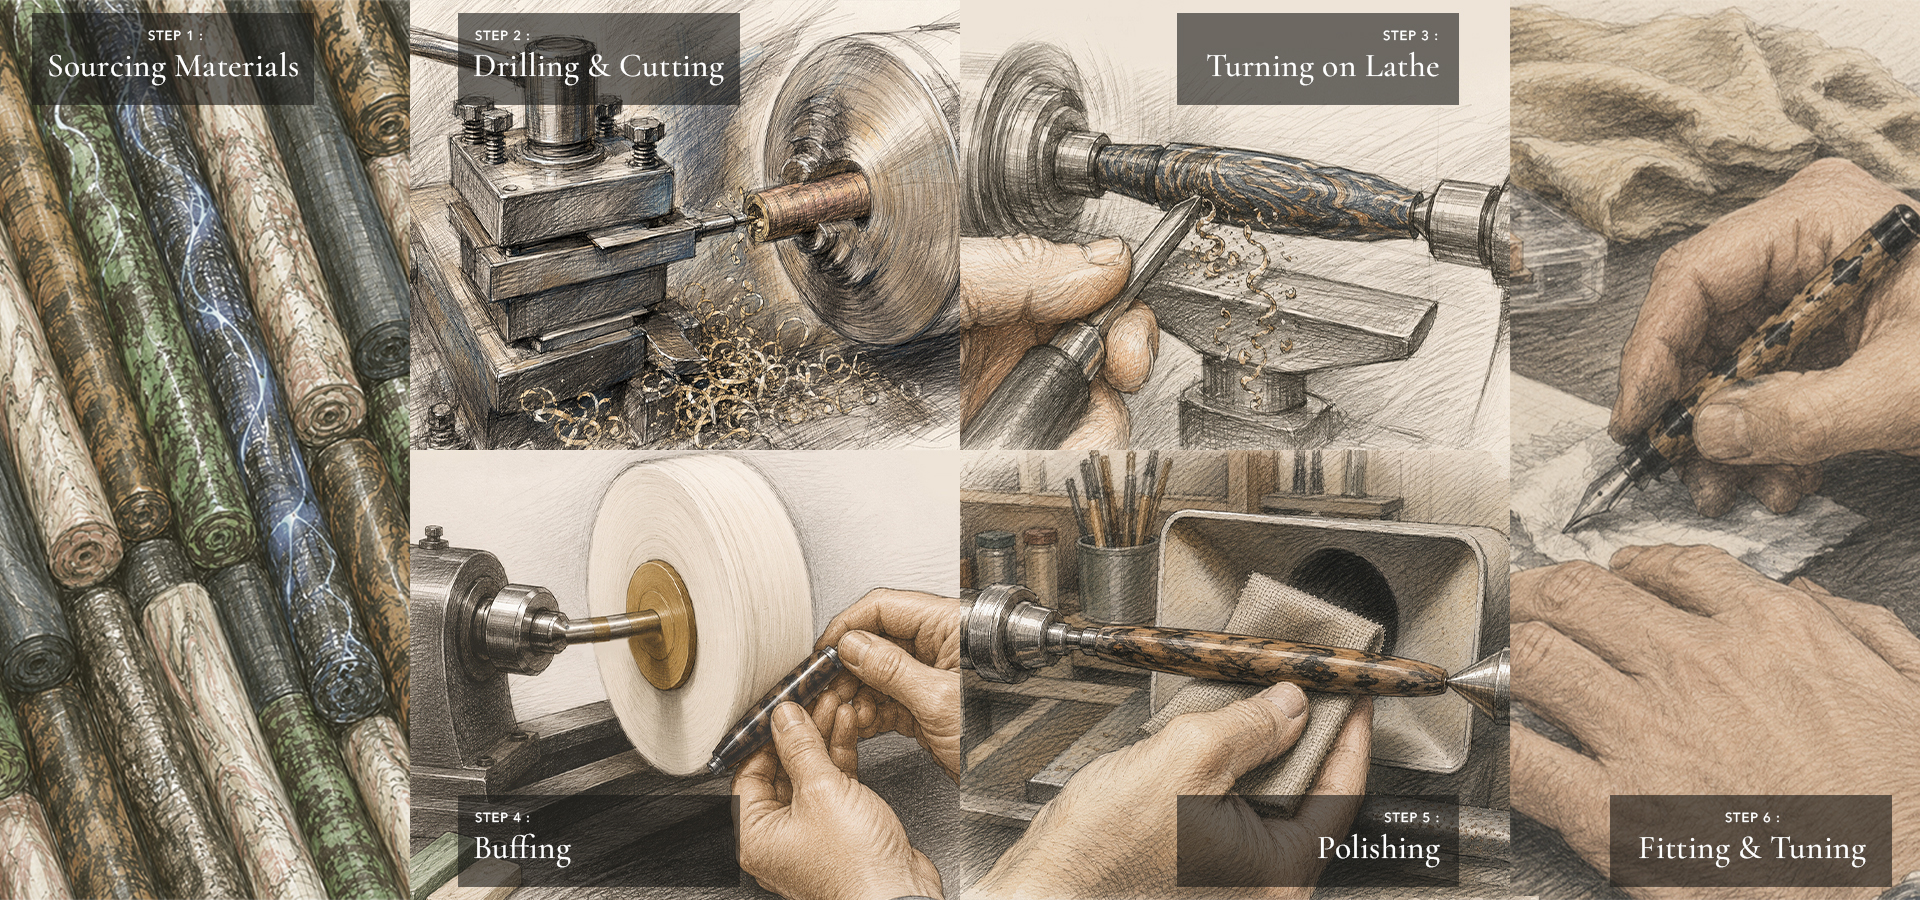
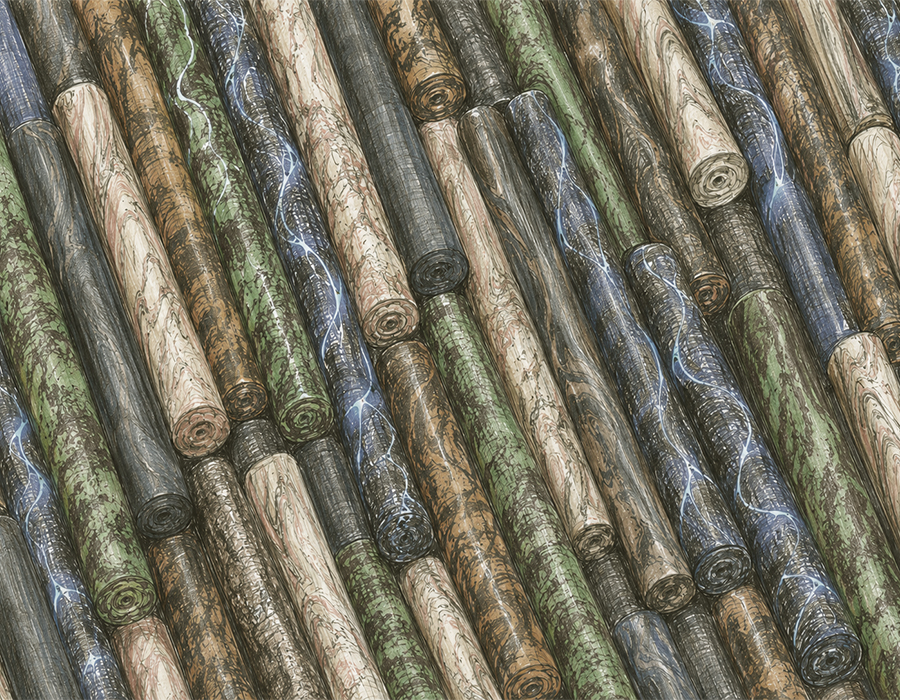
The foundation of a custom pen begins with the "blank".
Resin & Acrylics: Artisans carefully measure liquid resins and mix in mica powders or dyes. The mixture is poured into molds and cured inside a pressure pot at about 60 PSI to eliminate air bubbles and ensure structural integrity.
Wood & Ebonite: Dense ebonite (a premium hard rubber) are cut into manageable square blocks.
 Photo
Photo900 × 700 px
Drilling and Cutting
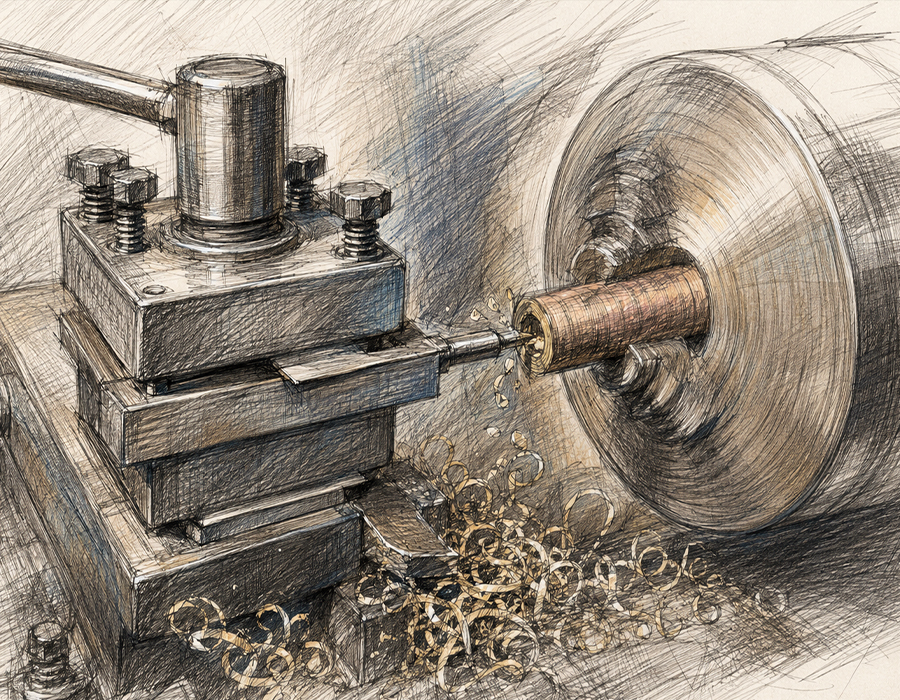
A precise center hole is drilled through the length of the pen blank.
 Photo
Photo900 × 700 px
Precision Turning on a Lathe
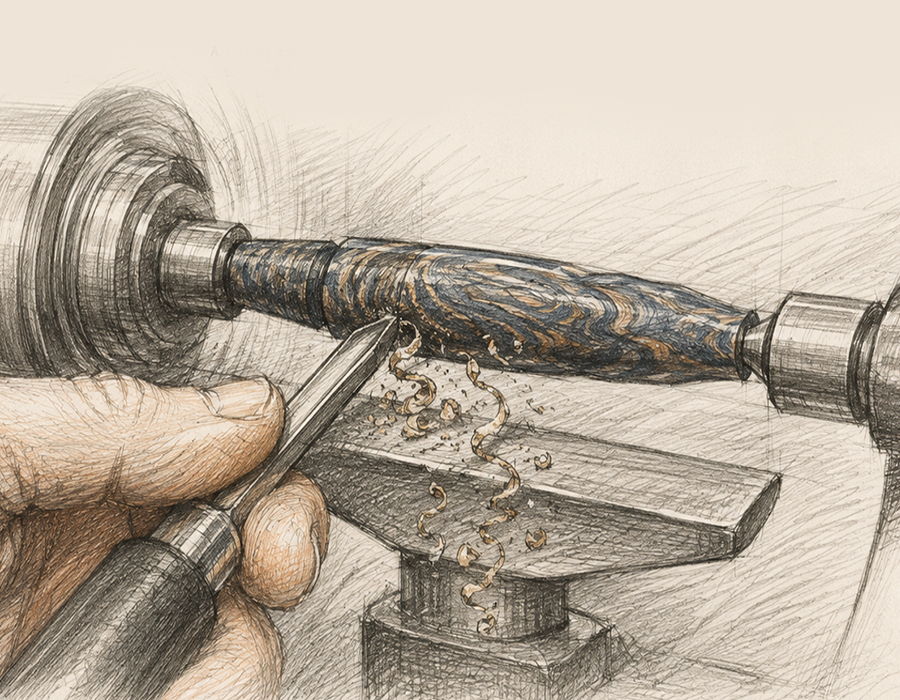
Turning is the heart of artisanal pen making. The blank is mounted onto a specialized lathe. As the lathe spins the blank at high speeds, the artisan uses sharp woodturning chisels to carve the material down to the exact diameter required for the pen hardware. Once shaped, the body is sanded through increasingly fine grits (from rough sandpaper to micro-mesh) and polished to a flawless finish.
 Photo
Photo900 × 700 px
Assembly and Nib Tuning
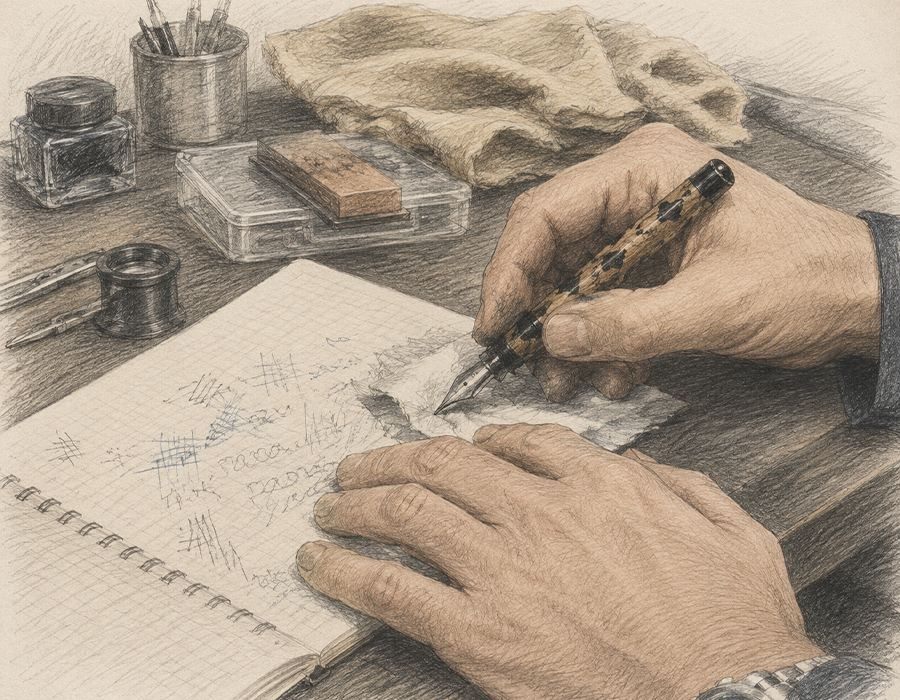
Hardware Assembly : The different parts of the pen are then assembled together.
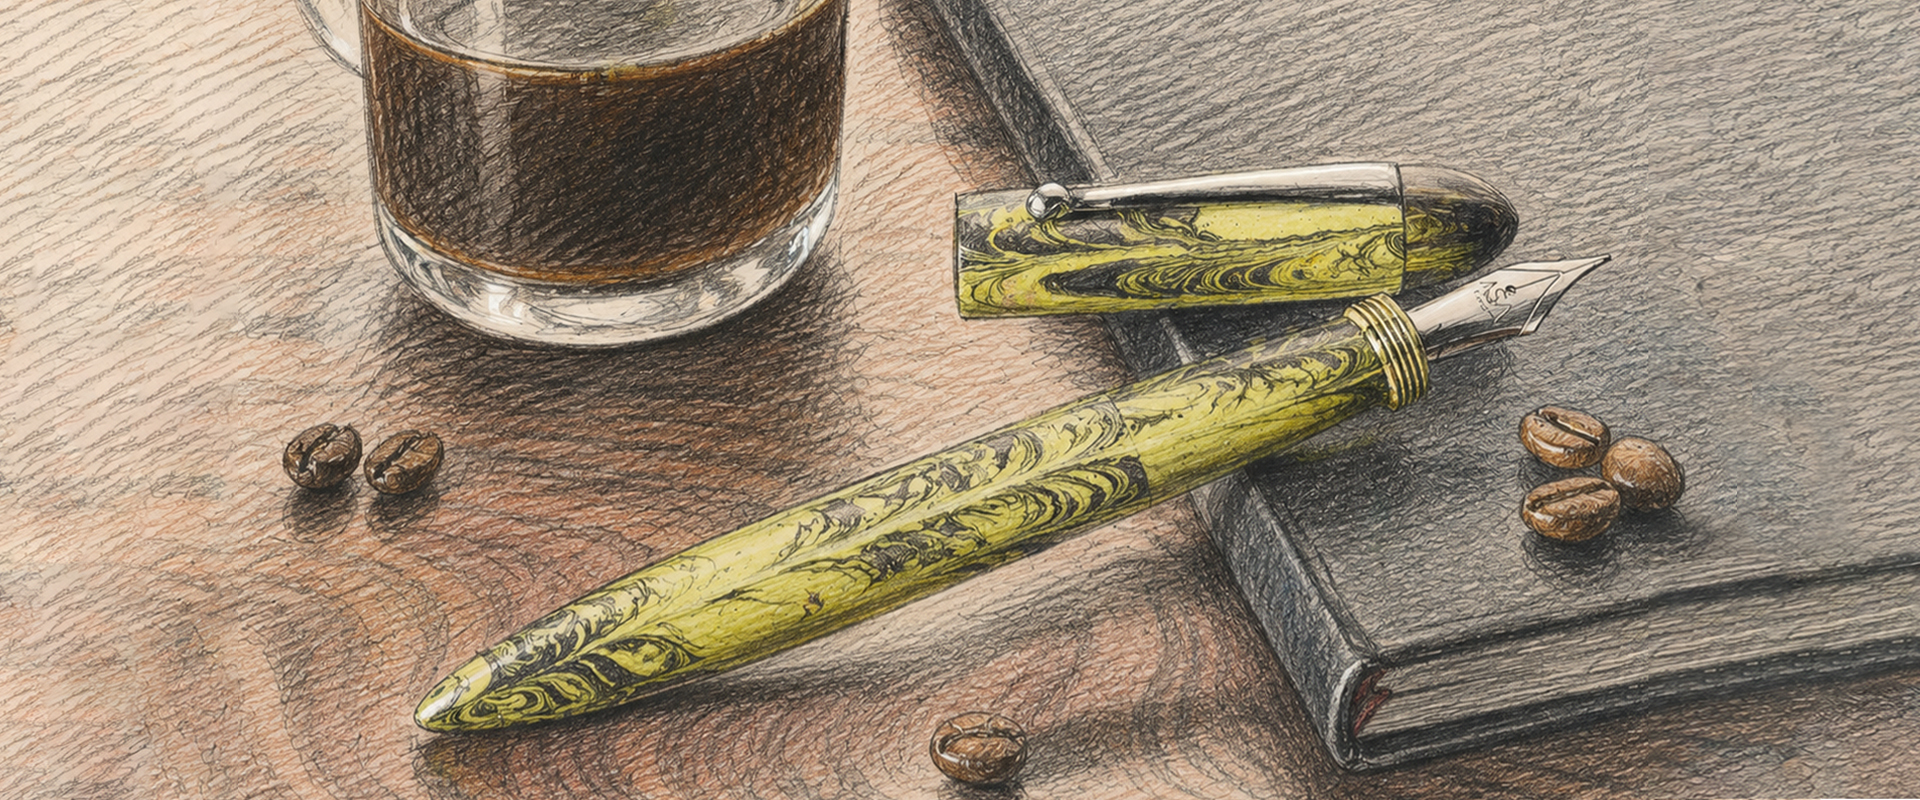
Nib Assembly : Artisans often tune, polish, or engrave the nib—the metal tip of the pen—to ensure optimal ink flow and a smooth writing experience. The nib and ink-feeding system are then fitted into the front section of the pen.
 Final Image
1920 × 800 px